
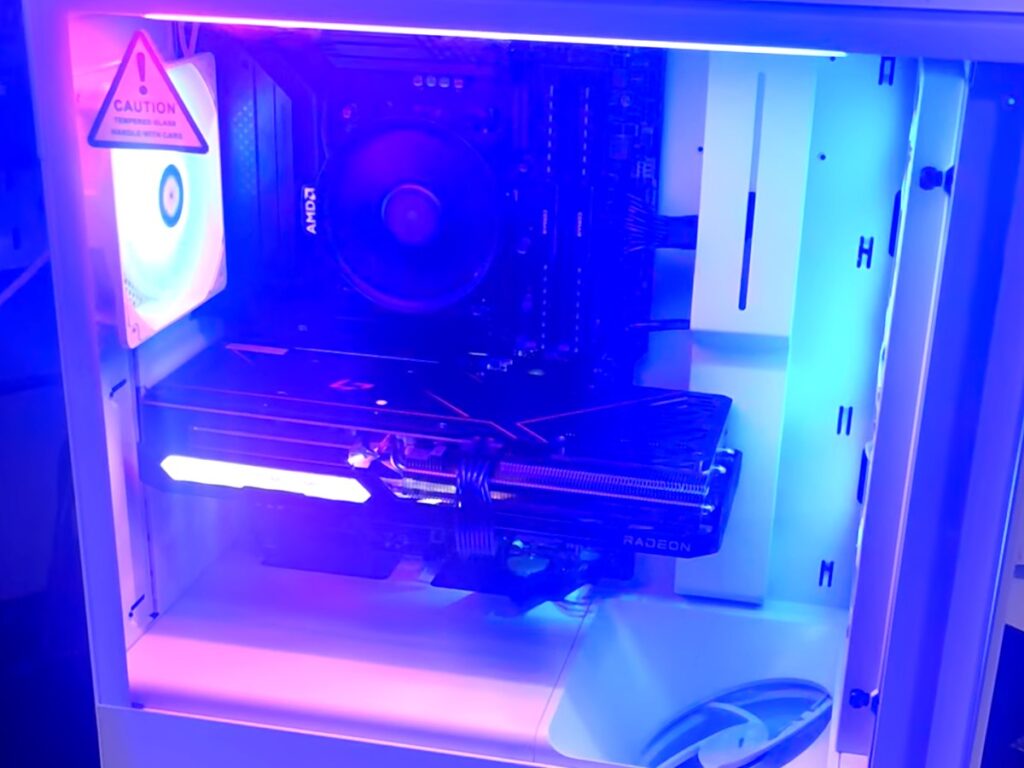
Most gaming PCs that arrive damaged weren’t damaged by the carrier dropping the box. They were damaged by a 3-pound graphics card swinging inside the case for 600 miles. Pack the heavy parts so they can’t move, and the box can take a normal beating from UPS without touching the hardware.
This is the exact process we ask mail-in repair customers to follow. Our techs build gaming PCs, and everything here comes from unboxing customer rigs on our bench in Blue Springs.
What you need
- A sturdy double-wall box with room for at least 2 inches of padding on every side of the case. The original case box is ideal.
- A second, smaller box for the graphics card (the GPU’s retail box is perfect).
- An anti-static bag for the graphics card. A clean bag from any new part works.
- Packing material that won’t settle: foam, air pillows, or tightly crumpled kraft paper. Loose packing peanuts settle in transit and let the case drift to the bottom of the box.
- Packing tape, a phone camera, and about 20 minutes.
Step 1: Back up and power down
If the PC still boots, copy anything you can’t replace to a cloud drive or external disk before it leaves your house. We don’t wipe or reinstall anything without your written approval, but a backup means a shipping accident can never cost you your files. Then shut down fully, switch off the power supply, and unplug every cable.
Step 2: Take the graphics card out
This is the step that matters most. A modern GPU is long, heavy, and held in by one slot and two screws. In a box that gets tipped on its side, the card levers against the PCIe slot and can crack the slot or the motherboard.
- Unplug the PCIe power cables from the card.
- Remove the screws holding the card’s bracket to the case.
- Press the release latch at the end of the PCIe slot, then lift the card straight up.
- Slide it into the anti-static bag, then into its own small box with padding.
The GPU box ships inside the main box, wedged so it can’t slide. Don’t ship it separately; two boxes means two tracking numbers and twice the chance of a split delivery.
Not comfortable removing it? Leave it in, but fill the space under and around the card with foam so it can’t flex, and write “GPU INSTALLED” on your note. We’d still rather you take it out.
Step 3: Secure everything else inside the case
- Big air coolers: tower coolers that weigh over a pound or two put the same strain on the motherboard as a GPU. Pack foam or air pillows around the cooler so it’s supported from below and the sides.
- Liquid coolers (AIOs): leave them installed. Make sure the radiator and tubes are fastened and nothing is hanging loose.
- Empty space: fill the open interior of the case with air pillows or foam. Nothing inside should be able to rattle when you tilt the case.
- Glass side panels: remove the tempered glass panel, wrap it in foam or a towel, and pack it flat against the side of the box. Put the solid metal panel or cardboard back on in its place. Glass is the part most likely to break in transit.
Step 4: Box it
- Put 2 inches of padding in the bottom of the box.
- Set the case in upright, the same way it sits on your desk.
- Fill every side and the top with 2 inches of padding. Wedge the GPU box in a side gap.
- Close the flaps and shake the box gently. If anything shifts or thumps, open it and add more padding.
- Tape every seam with the H-pattern: one strip down the middle, one across each edge, top and bottom.
- Write “FRAGILE — THIS SIDE UP” with arrows on two sides. Carriers don’t guarantee they’ll follow it, but it helps.
If you still have the case’s original box with its foam end caps, use it as the inner box and put it inside a bigger outer box with padding between them. That’s the best protection you can get without custom foam.
Step 5: What goes in the box, and what stays home
Include: the PC, the graphics card (in its own box), and a note with your name, phone number, return address, and ticket number.
Leave at home: the power cord, monitor, keyboard, mouse, headset, Wi-Fi antennas, and any USB drives. We have standard power cords on the bench. If the problem involves a specific accessory, tell us when you submit your request.
Never put your password on the note. A password written on paper sits in a box that passes through a lot of hands. If we need to sign in to test something, we’ll ask you directly.
Step 6: Photos, insurance, and drop-off
- Photograph the PC before you pack it, the packed box before you close it, and the sealed box with the label. If anything is damaged in transit, those photos are what a carrier claim runs on.
- Insure the shipment for the PC’s full value. Carriers include a small amount of coverage by default; a gaming PC needs declared value on top of that.
- Get a receipt with the tracking number when you drop it off, and reply to your ticket email with the tracking number so we know it’s coming.
What happens when it arrives
We photograph the box before we cut the tape, then again as we unpack it, so you have a record of the condition it arrived in. A tech who builds gaming PCs diagnoses it and sends you a written estimate within 1–2 business days. Nothing gets repaired until you approve the exact price. When it’s done, we repack it the way this guide describes, with the GPU secured, and ship it back insured with signature required and tracking.
Ready to send it in? Start your mail-in repair. You’ll get shipping instructions and a ticket number by email within the hour. Questions first? Call (816) 708-8822.